Hello Dahlings!
We have ideas for mani that feature Things That Are Round for y'all!
I did this...

These nail art studs from Winstonia are round, faceted
& have a special feature that is near & dear to my inky lil heart.
More about that later.
I used Unt Ready for Take Off pobc,
Color Club Halo Hues Beyond for my base color,
with Seche Vite fdtc for my base.
I then used a no-wipe gel top coat with my uv/led lamp
to add the studs that I placed with tweezers.
I only applied enough gel to do 1 row of studs at a time before curing,
as those lil buggers like to slide around.
You can do this mani using clear polish as well.
Over all, this mani held up pretty well!
I did have to deal with the gems snagging in my long hair,
but I only lost 2 of them, off the same finger, on my left hand
& I think it was due to not using enough polish under them.
The rest stayed put until I took them off nearly a week later.
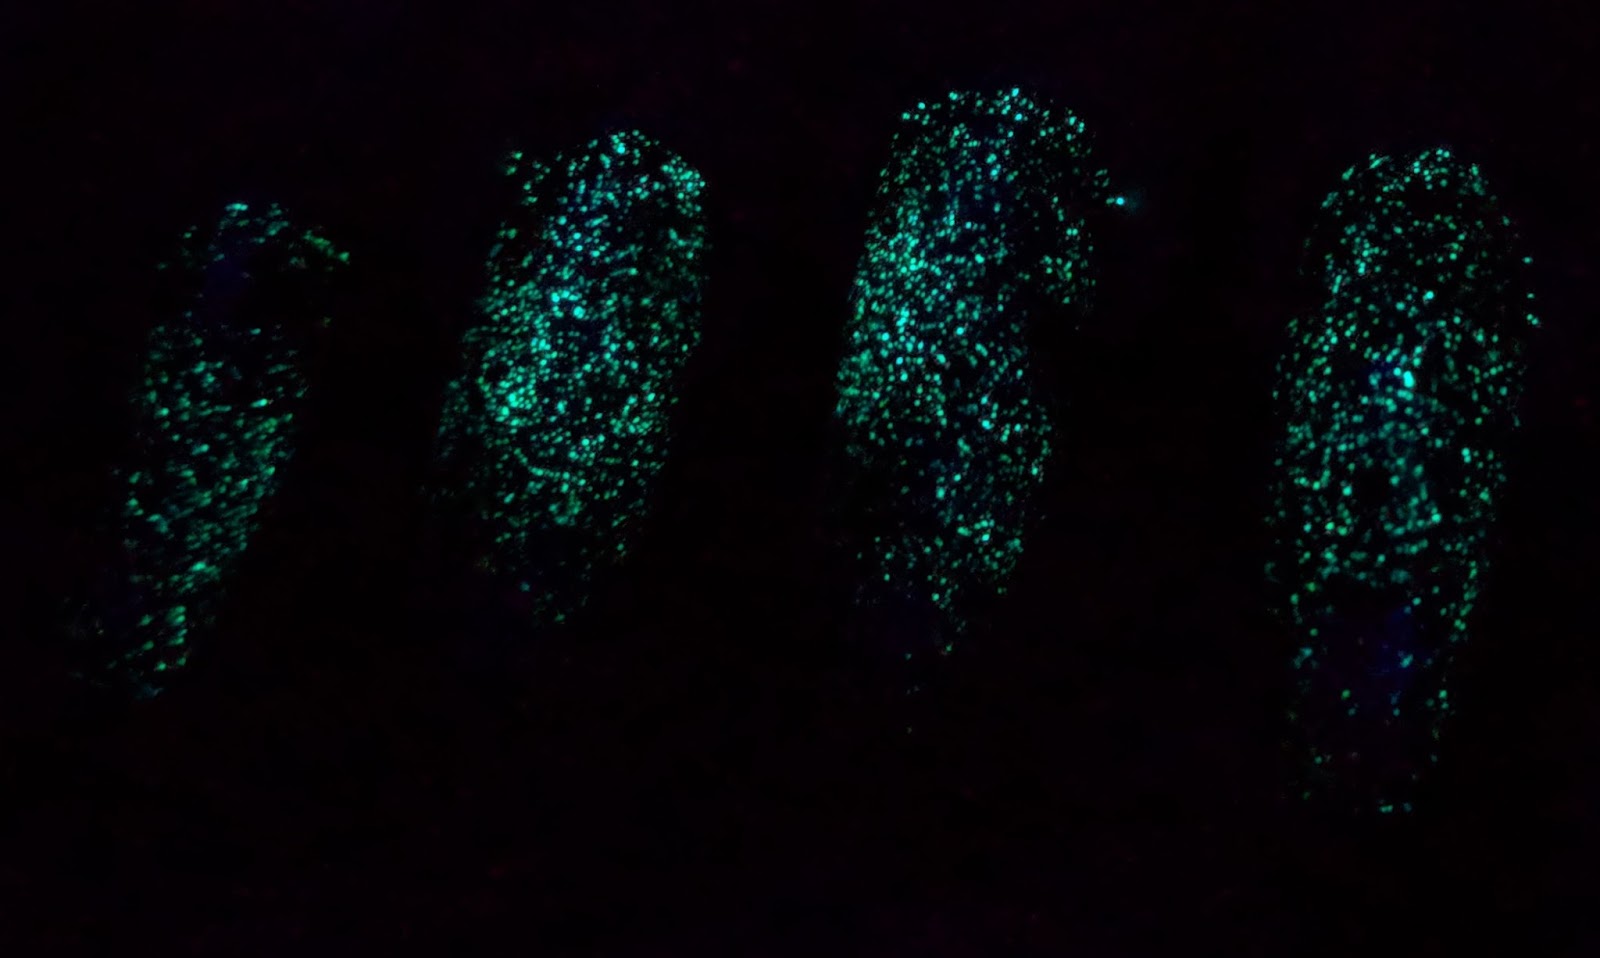
Oh...what is that special feature I mentioned?

They glow in the dark!
You saw that coming, didn't you?
>^. .^<

Some vintage Ciri "Talk to my butt!" for y'all today.
Thanks for stopping by
& please check out what ideas
the others have for you!
~ Inky