Friday, January 31, 2014

New Hair & Nails to Match!

Hello Dahlings!
 
This is my last 'normal' mani post for awhile. 28 days to be exact! Tomorrow I start da Nail Art A Go Go Challenge & other than double posting the challenge with Sunday Show & Tell I'm not likely to have time to do my usual blog stuff.
 
Da last time I did my hair was da weekend before Turkey Day. I used Color Jam Party Pink over what was left of the blue from September & some pink/purple left over from my summer My Lil Pony hair. This time I used Color Jam Kamikaze Pink. It's a gorgeous fuchsia in da bottle, but it usually turns out a much lighter pink in my hair, even with bleaching. I hoped it would turn out more like da bottle color by putting it over the old pink & would turn da old blue purple. I've really enjoyed having blue tips on my fringes da past year, but wanted to do something different for at least a couple of months. So after bleaching my fringe grow out I dyed my hair...
 
 Success!
I finally got this particular color to turn out close to da bottle color!!!
 
 My old blue did indeed turn purple.
 
 So I went with nails to co-ordinate with da purple hair.
This is 2 coats of LynB Designs I'm Your Huckleberry.
It's a lovely dark lavender crème.
(more about this polish in this Sunday's Show & Tell)
 
 I used IYHB as undies for The Devil Wears Polish Fun House.
This is 2 coats of yummy purple jelly with lil white & medium metallic
dark pink hexes with skull & crossbones glitters.
Yeah, I did have to go fishing for da skullies, but they're worth it!
(more about this polish on Sunday too)
 
 I wanted a lil bling so I got out my linear holo toppers to compare them.
(I told you I would!)
 
I added 1 coat of holo topper to each nail
 
 Pinky ~ Born Pretty Store 1
This one worked well over bright blue,
but it silvered the dark purple more than I liked
 
ring ~ I Love Nail Polish My Private Rainbow (L)
This one is still subtle at one coat,
but a 2nd coat upped da effect without silvering da color.
 
middle ~ Philly Loves Lacquer It's Always Sunny
This one is new & while it showed a pretty strong rainbow,
it also silvered da base color a lot.
 
index ~ LynB Designs Frosty Snot
I LOVE this holo topper!
It shows a strong rainbow without altering da base color.
I have got to see about talking Jenna into making this
holo awesomeness a permanent addition to her line!
 
 Da winner today & still reigning champ of da holo toppers
...Frosty Snot!
 
>^. .^<
 
Meowmy, please don't turn my pretty white fur funny colors, K?
 
Thanks for stopping by!
~ Inky

Wednesday, January 29, 2014

Weird Wednesdays ~ DIY Water Marble Decals!!!

Hello Dahlings!

Yep! You read da title of this post correctly. I did indeed figure out how to make water marbled DIY decals. I was reading Light of the Moon Nails blog & like it so often happens when reading what Tina's been up to...inspiration struck! Is it possible to make water marbled decals so as to not have to go thru all of da regular water marbling steps?
Yes ma'am, it is!
 
 See? While its not a good water marbling attempt
(thanks Ciri for da cat hair hanging off da tip)
it is water marbling on a DIY decal!!!
 
A few things you have to know how to do before attempting this technique:
 
How to water marble using polish: My Simple Little Pleasures
Colette is THE DIVA of water marbling & can teach you everything
you need to know about how to do it successfully.
 
How to make DIY Decals:
Missy Gnarly Gnails method ~ DIY decals on wax paper
Michelle Lacquer or Leave Her! method ~ DIY decals on plastic
 
I've heard about making decals on a nail stamping tool, but don't have a link.
My recommendation if you use this method to make your decals,
is to tape your stamper like you would your nails
so you don't have that mess to clean off your stamper.
 
 Da line up: Peripera WH801, China Glaze Naked,
Bizarre Blurple & Splish Splash
 
I made my decal bases at this point so they would be dry when I was done applying da base color. Instead of painting clear rectangles that fit my templates, I carefully poured da clear polish onto da silicone & used da brush to spread it out to cover 3 nail templates & da spaces between da templates. Also, my silicon is cut into a 1" x 8" strip which makes it easy to dip into da water. If you use a silicone pad, wax paper or thick plastic bag, you need to cut it into an 1" wide strip (as long as you like, but wider than your longest nail) before you make your decal bases.
 
I tried placing da larger silicone pad my strip was cut off over da bowl I use for water marbling to see if I could make a piece as large as da surface of da water, but da pad buckled as I pushed it into da bowl to da level of da water (my lil bowl has lines about 1/2" below da rim & this is where I fill da water to). I also tried this with a thick piece of plastic & that too buckled before it got low enuf to do da job. You really need to use a strip of whatever material you use to make decals, unless you're using a stamper.
 
Why don't I use a stamper to make my decals? I prefer doing my nails production style (i.e. 1 step done to all decals at da same time before moving onto da next step) rather than one nail at a time.
 
 2 coats of WH801.
(I like this white much better than CG WoW.)
 It does go on streaky with da 1st coat, but it self levels on da 2nd coat.
Da lil bit of roughness you might notice on my ring finger is from a patch made of Orly's Nail Repair. I had taken da top layer off that nail in spots while removing chunky glitter & this stuff is great for filling in those spots & keeping them from peeling. I just need to buff it smoother when doing da next mani.
 
I made 2 decals, each large enuf to cover 2-3 nails. I only did enuf for 1 hand, so for both hands you'll need 4 decals this size. Normally I put da decal base polish on da other side from where I drew da nail templates with a Sharpie, but I ditzed & put da polish on da wrong side this time. So I have template lines on my decals that limit where I can cut them to get da best pattern for my nails. I redrew those lines on my silicone using a silver Sharpie so I don't do that again.
 
 Yeah, I know. My water marbling skills need mucho practice. LOL But I did manage to get rings of polish to form a stripy pattern of sorts & I got that pattern to transfer to da strip when I lowered da strip into da water. I then used a skinny cuticle stick to clean up all da unused polish & to wipe excess polish off da edges of da silicone strip.
 
 This is da other decal I made.
I let them sit wet for a couple minutes so da polish cured a bit & then carefully blotted da water off da polish with a tissue. I then let them dry for about 15 minutes.
 
 I used da angled end of da cuticle stick to gently lift da edge of da decal & remove it from da strip. I trimmed pieces to fit my nails, then applied them, marbled polish side down, using da same clear polish. I secured da edges & top coated with Seche Vite da same way I do for stamped decals. I apply my decals polish side down so I don't smear da design while cleaning up da edges with acetone or when applying top coat.
 
Above is a left over piece of decal. You can see how thin they are, but they don't easily tear. You can also see da template lines forming a rectangle on da template. Polish will lift da Sharpie off da silicone & its easier to avoid doing this than to fix it after.
 
Ta da...da worst water marbling you may ever see,
but I did it on decals!
My theory proved true, but my skills need lots of practice!
 
Why do it this way over traditional water marbling?
No taping of my fingers.
If I don't like what I get, after dipping, 
I can easily make another decal
& not have to redo a nail.
 
How do I clean my silicone template?
I let da polish left overs fully cure for hour or so
then use my plastic stamping scraper to remove da worst of it
them wash it in warm soapy & water to get da lil clingy bits off.
I pat it dry & it's good to go for da next time.
 
I really like da added versatility making my own decals gives me
& plan on trying some other messy nail art techniques
that I've resisted doing cuz of da mess to clean up after.
 
>^. .^<
 
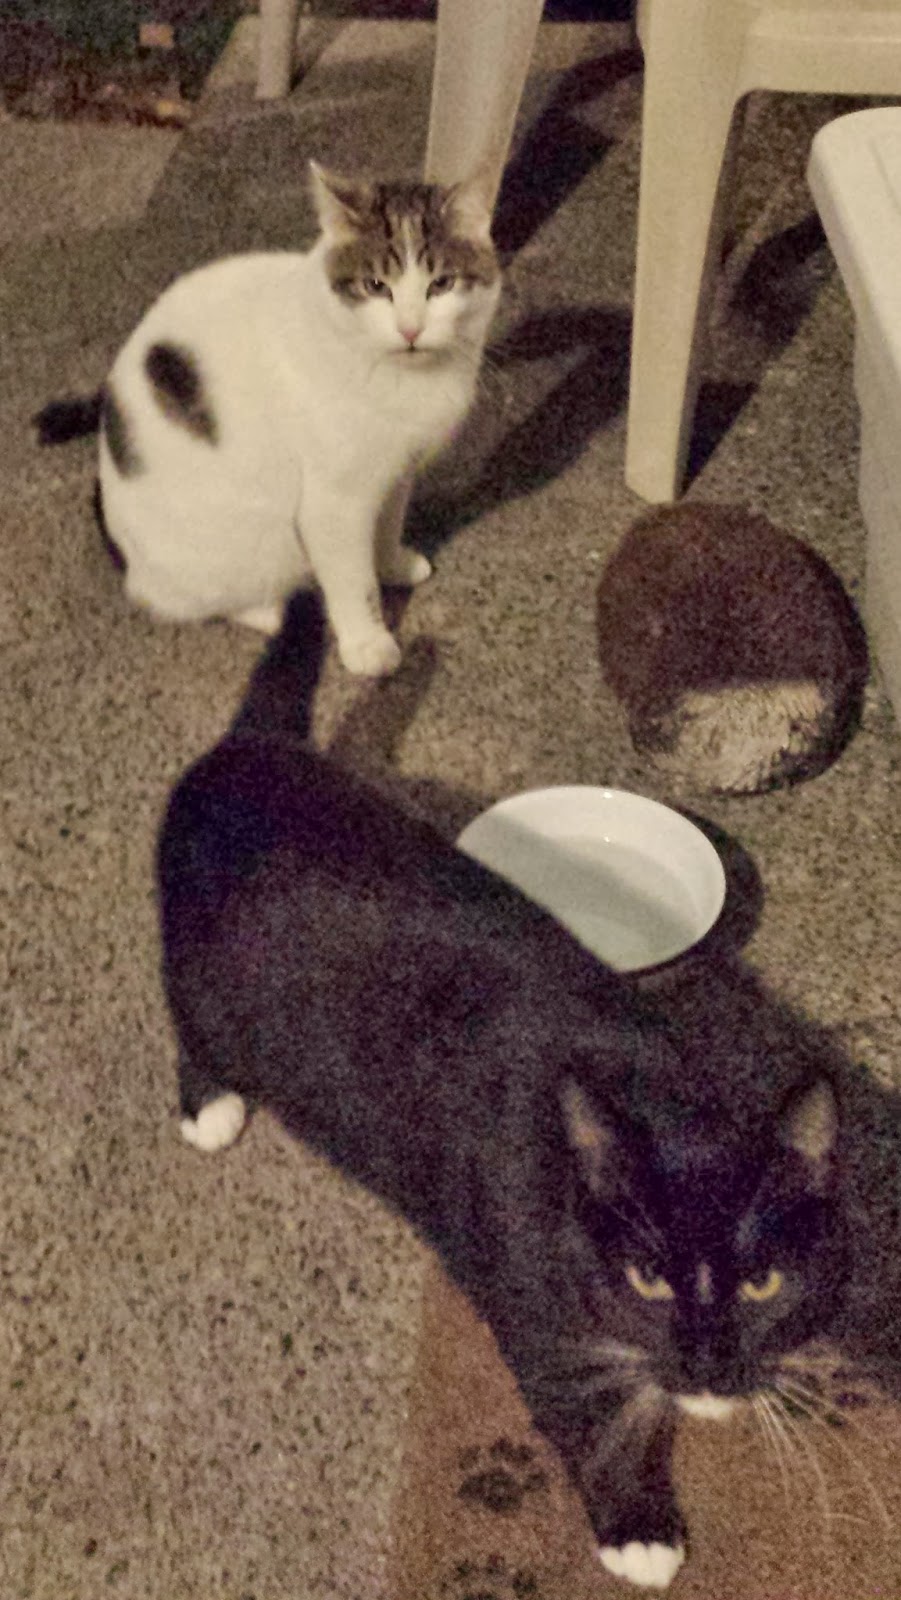
 These are my neighbor's 2 cats.
I don't know their 'real' names (like any human knows da true name of any cat?) so I call da white one Doofy cuz he's a lovable dufus & da black one Bandita cuz she looks like she could be da daughter of my mom's departed cat Bandit. Why are they on my porch? Da weather went below freezing & stayed there for most of a week in December. These 2 are outside a lot of da time & there was no water for them to drink cuz it was all frozen. So I brought out a bowl of warm water for them. They were friendly to me before this, but they're really friendly now! LOL
 
Doofy is as soft as he looks & loves to jump into my lap for a snuggle. When it's really cold he likes to burrow under my coat & sit in my lap with just his head peeking out. This lover boy can purr like a finely tuned engine! Do I want them for my own? Heck no! (I still have 4 cats...I do not want 6, again.) I don't feed them & I don't let them into my house, tho' Doofy tries to slip in on a regular basis. Their owner feeds them well & they certainly high tail it for home if a car they know pulls in to their driveway or somebody opens da door at their house. I enjoy their visits, but that's all I want from them.
 
Thanks for stopping by!
~ Inky

Monday, January 27, 2014

Monday Quickie ~ Polish Me Silly Grape Intentions!

Hello Dahlings!
 
As mentioned yesterday, when I saw Claire sporting this polish
I was all over it like white on rice!
 
 This is 3 coats of Grape Intentions from Polish Me Silly!
When cold, it's a purple jelly with md magenta holo hexes,
sm purple hexes & lots of silver holo sparkly bits.
When your hands warm up a bit, you get this...
 
...blingy funky French Tips!
About the only thing missing is gitd,
otherwise this polish went on no prob with no fishing required
& only minimal dabbing to place da larger bits.
Hmmm...note to self ~ try adding gitd topper over
&/or under thermal polish!
 
>^. .^<
 
 Dis mousie is boring just sitting there...
 
...fixed it!
 
Thanks for stopping by!
~ Inky

Sunday, January 26, 2014

Show & Tell!

Hello Dahlings!
 
In spite of my best intentions to go on a low buy this month,
I just couldn't help myself when I discovered several new-to-me indies.
Pathetic, I know.
No will power to speak of when if comes to resisting yummy polishes.
*le sigh*
What's an Inky to do? Show off her new pretties, that's what!
(all polishicles have 2 coats)
 
I honestly can't remember where I saw this brand, but I'm glad I did!
Candi has a nice assortment of finishes to suit both fandom polish collectors
& those just into nifty lacquers.
 
 Here's da loot! I ordered the 5 minis @ $18 deal
I got 2 of one of these lil bottles,
but I can't say which one cuz it's a surprise for somebody.
Shhhhh!
When it got returned to Candi cuz of an ooops on da label,
she let me pick a freebie to make up for the delay. 
Isn't that sweet!
 
 Fright Night is a somewhat sheer purple jelly
with lil black string bars & shards.
 
 Hocus Pocus should be a luminous purple jelly, but alas,
my bottle needs da beejeebers shaken out of it
cuz some of da pigment didn't quite dissolve all da way.
It's fixable, but I didn't want to make you wait to see it. 
 
 Aguamenti is assorted sizes of aqua holo bits in a clear base.
 
 White Christmas has white snow flakes & assorted size hexes in a clear base.
I can see me wearing this over all kinds of wintery colors!
 
 Ugly Sweater Party is my freebie...look at all those red & green bits!
Plus as a bonus when ordering this polish, you get theses...
 
Lil trees & snowmen to add to your ugly sweater manis!
 
~~~
 
Another new-to-me polish,
but I remember where I got hooked...Kerruticles
When I saw Claire sporting a thermal polish
with da bling built in...I was all over that!
 
 I picked up 2 full size & 2 minis at this mother & daughter run shop.
Their full size are the standard 15ml, but their minis are whopping 9ml.
That's almost twice da size of most minis!
 
 Tease Me is a pink to purple shifting duo chrome with sparklies.
It was still rather sheer at 2 coats & da listing recommends wearing
this one over black to get da best effect.
 (I guess I should have swatched it on a black/white polishicles,
but I didn't look this info up until I was typing this. Blerg.)
 
 Grape Intentions is what Claire was wearing
that made me say 'Ooooooooo!' out loud!
When cold it's a lovely bright purple with lots of small purple hexes,
medium hot pink holo hexes & lots of lil holo bits. Get it warm...
 
 ...and it turns pink!
(stay tuned cuz I'm sporting this right now & posting it tomorrow!)
 
 Blurple is my least favorite word for a color,
but I really really like this neon-ish topper!
In da bottle da base looks very blue violet,
but it's actually quite sheer & will easily go over any base color.
 
Waz Up Girl is another sparkly duo chrome,
but this bright baby shifts pink-orange-gold!
Also quite sheer on it's own, it craves black undies.
 
Polish Me Silly also has other color combos of thermal polish
as well as multi chromes worth checking out.
 
~~~
 
Yeah, yeah, we all know what a Ho I am for Kristen's polishes.
I can easily lay all blame on Accio Lacquer for her fab pics
& witty repartee. This time it was TLV's January Villain of the Month
& da promo mini that required buying da villain
& 3 other full size bottles to get it. 
(da hardest part was limiting my Ho-ing self to 4 bottles lol)
 
 I just love to tease y'all with da adorable bags
that all of Kristen's yummy bombs wear for their journey.
 
 Of course all of da full size bottles come with
her trademark star charm & matching crystals.
 
 The Immortal decided to hide all it's white flakie
& sparkly goodness from my camera. Bad word.
It's a lovely darkish grayed lavender that looks so pretty in person.
I can only hope it gets over it's shyness
when I decide to put it on & take pics for a post.
 
 Blue Steel is a blackened blue base filled with many tints
& shades of blue.
You can see a much better swatch at Lacquer or Leaver Her!
 
 Pain & Panic is da promo mini I just had to have!
Lookee at all that magenta & teal glitter goodness!
 
 Lord of the Dead is da villain in all this!
Medium dark gray with steel & black two size hexes
plus a sexy copper, blue & green shimmer of micro glitter
that must be hiding with The Immortals shimmery bits.
 
A more purply grayed lavender is da base for lots of blue
& purple shimmer in Forgetfulness Potion. Really...I promise!
 
Forgetfulness Potion must be why my pic skills have gone walk-a-bout! Cuz I certainly forgot how to take decent pics when I was doing this set of gorgeous polishes that almost, but not quite completely don't look anything like they do in real life in these pics.
 
Don't YOU forget to zap yourself over to TLV pronto to pick up
Lord of the Dead plus Pain & Panic
before January 31st or you'll miss out on these fun LE lacquers!
 
Now for something completely different...
 
This buy I can pretty much lay at da dainty footsies of my prime enabler:
Michelle & all her posts on Mo You plates where she either gives you a tour of a plate or shows how to stamp with some of da full plate images & most recently shows da dif in sizing between da regular size images & da XL versions. All good info that will have you flying to buy some for yourself.
Trust me, she's very good at making me want what she's showing! LMBBO
 
I have resisted getting these lil works of art why? I have no idea!
I don't think I got any of da plates Michelle has shown,
but when I got browsing da Mo You plates at Amazon...
well I narrowed it down to 5 for my 1st buy.
 
 Suki Collection - 07 is a full plate image featuring an Asian style dragon
& a pretty girl as its primary images.
 
 Artist Collection - 06 features comic book style art in a full plate scene
with aliens coming down to ruin da hero & his damsel's day.
 
 Sailor Collection - 05 has 12 XL full nail designs in several art styles.
Great for water themed manis but also useful for general nail art.
 
 Rebel Collection - 03 is packed with 32 assorted images,
including a bottle of Coca Cola & a Campbell's soup can.
Wham! Bang! Pow! plus Marilyn Monroe make this plate
ding dang near a necessity for pop art fans!
 
The Pro Collection - 10 has 18 modern & pop art images.
I do wonder what kind of 'Pro' the pin up girl style female
on da front of da sleeve for this plate really is?
Just saying, she don't look like she's from da steno pool, ya' know?
 
Anywho, that's all for this week!
OK, not really, but I know you probably have other things
to do today beside sitting there with your butt going numb
while you read my blog.
Show & Tell is over...now go outside & play or something!
 
Thanks for stopping by!
~ Inky


Friday, January 24, 2014

LynB Designs Flamboyant Framboise!

Hello Dahlings!
 
Where have my nail art skills gone? Are they under da sofa or fridge?
Gah! I wanted to show you a fun indie & I am,
but please ignore my feeble attempt at embellishing it.
 
 I started out with 2 coats each of these 3 China Glaze polishes.
 
Designer Satin on pinky & index
I like this one.
It went on smooth & has a nice mulberry crème semi-gloss finish.
 
Liquid Leather on middle
Meh. It's ok & behaved itself,
but I have other black crème polishes that I prefer.
 
White On White on ring & thumb
I really don't like this polish!
It goes on patchy with streaks that can take 3 coats to smooth out.
Ain't nobody got time for that when there are so many good
or least less pita-y white polishes out there.
 
 Da line up: China Glaze Designer Satin, White on White & Liquid Leather plus LynB Designs Flamboyant Framboise & Essence skinny striper
 
 I added 2 coats of FF over the base colors
with some dabbing to place the larger glitters.
I love da way da largish bright pink holo hexes, hearts & purple micro glitter in a light cherry jelly base looks so different depending on the base color! My least fav is over da white. Not cuz I don't like the white polish, but rather cuz the 1st coat of FF was streaky & da 2nd coat didn't help much. This may be due to my ineptitude in applying it, but methinks I'll stick to wearing FF over black for POP or matching undies for a more subtle look. Hey! I wonder how FF would look over silver...
 
Anywho, if I had stopped there, all would have been well...but no, I just can't leave well enuf alone. Can I? So I used my skinny striper with da CG polishes to add my fav funky tips & utterly failed. Was I asleep at da brush or what?!?
Egad, I need a remedial class on my own technique. LMBBO
A coat of Seche Vite to seal in da horrors of this mani 
then I stuck a fork in it & called it done.
 
 I did have one small success while doing this mani...
I've been looking for a new clean up brush that has a smaller head than da one I've been using the last 2 years. For me, a clean up brush needs to have short stiff bristles & a narrow profile so I can get the polish off my skin without taking da polish off my nails. So there I is in Wally World (translate that to Walmart for those of you not up on your Inky speak) & on a largish, free standing E.L.F. display I see this brush for $1.
$1!
It fits my criteria & worked very well for cleaning up after my sloppy self.
Did I tell you it only cost $1? (Ok, it was a smidge more than that when they added on our ever annoying 9.5% state sales tax, but I try to ignore this government invasion of my finances as much as possible. LOL)
 
End wear report: After 2 days I have pretty much no tip wear cuz
while I find WoW to be a waste of my time,
China Glaze polishes are generally worth their reasonable price.
 
As for LynBDesigns ... you really can't go wrong with Jenna's fantabulous polishes! She just released a new line based on da hilarious British show QI. Accio Lacquer did a full review HERE & HERE
If you like fandom based indie polished & want to know who's releasing what when, 
Mishka is da woman in da know!
 
>^. .^<
 
 I really really want me some of dat!
 
 Fine, don't share...I'll just pout over here.
 
 Me WANT!
 
Why can't that boy behave hisself?
This is the last pic I took of Frau Meyer.
She didn't care that I had ice cream & wouldn't share,
she just wanted to sit in my lap & keep an eye on Ciri.
 
Thanks for stopping by!
~ Inky